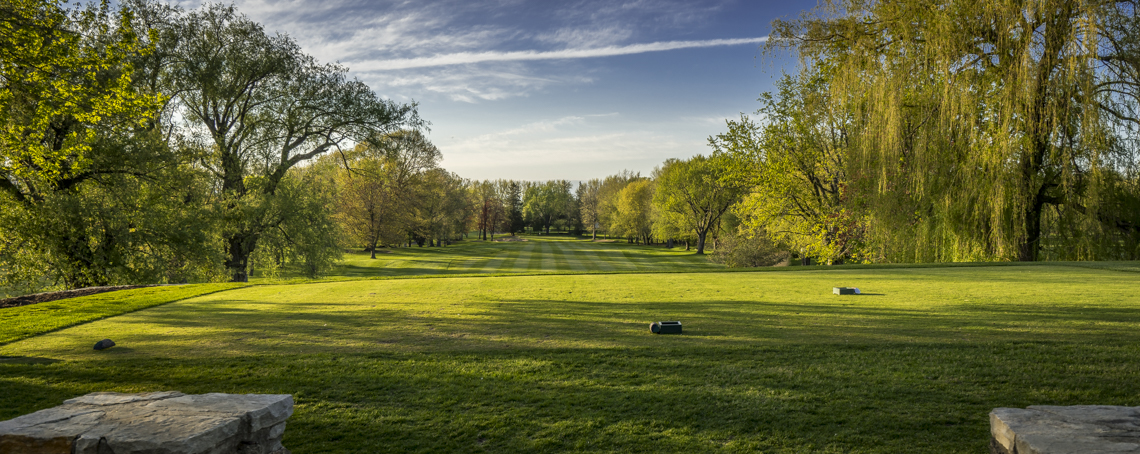
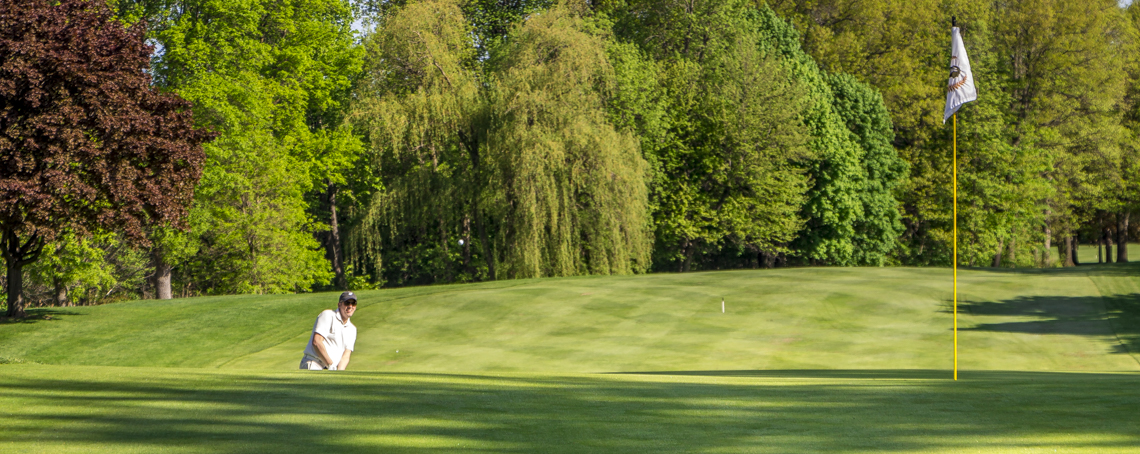
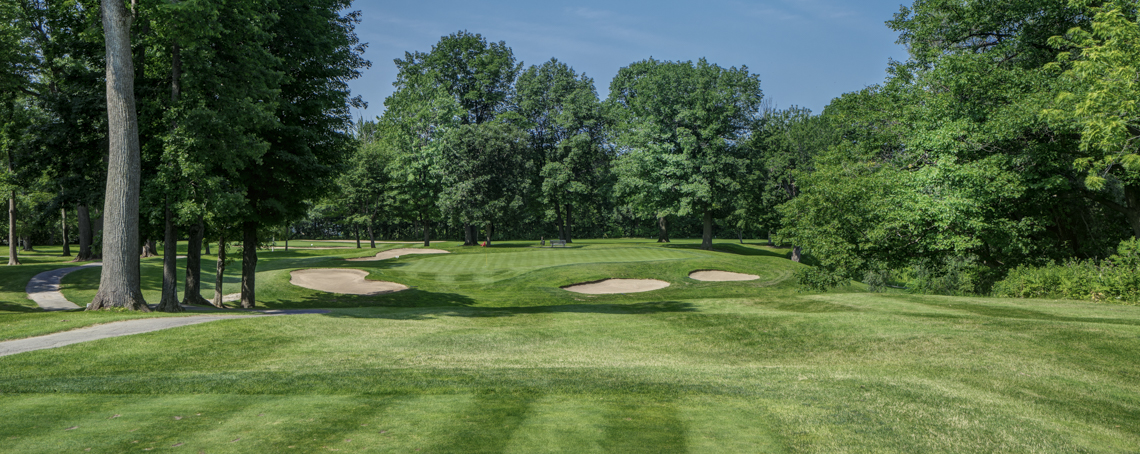
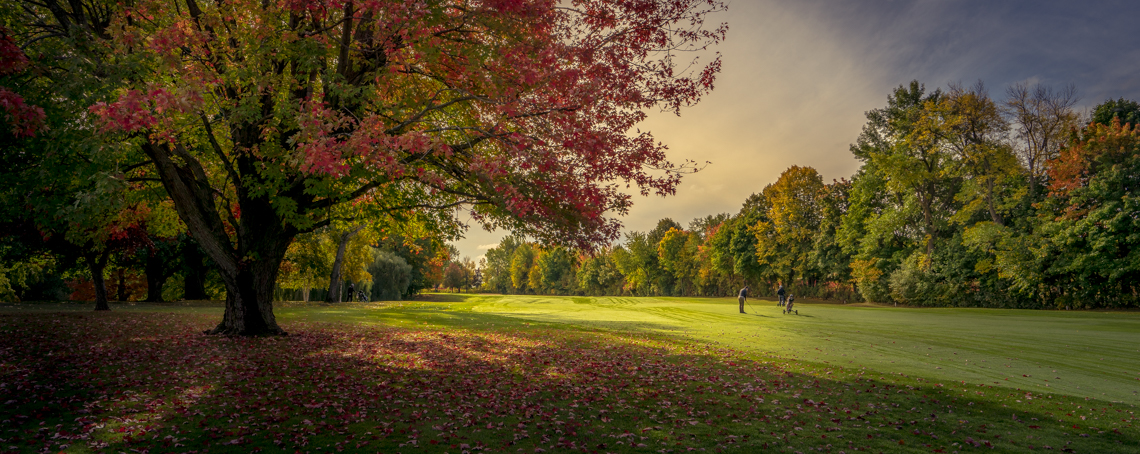
A golfer's golf club
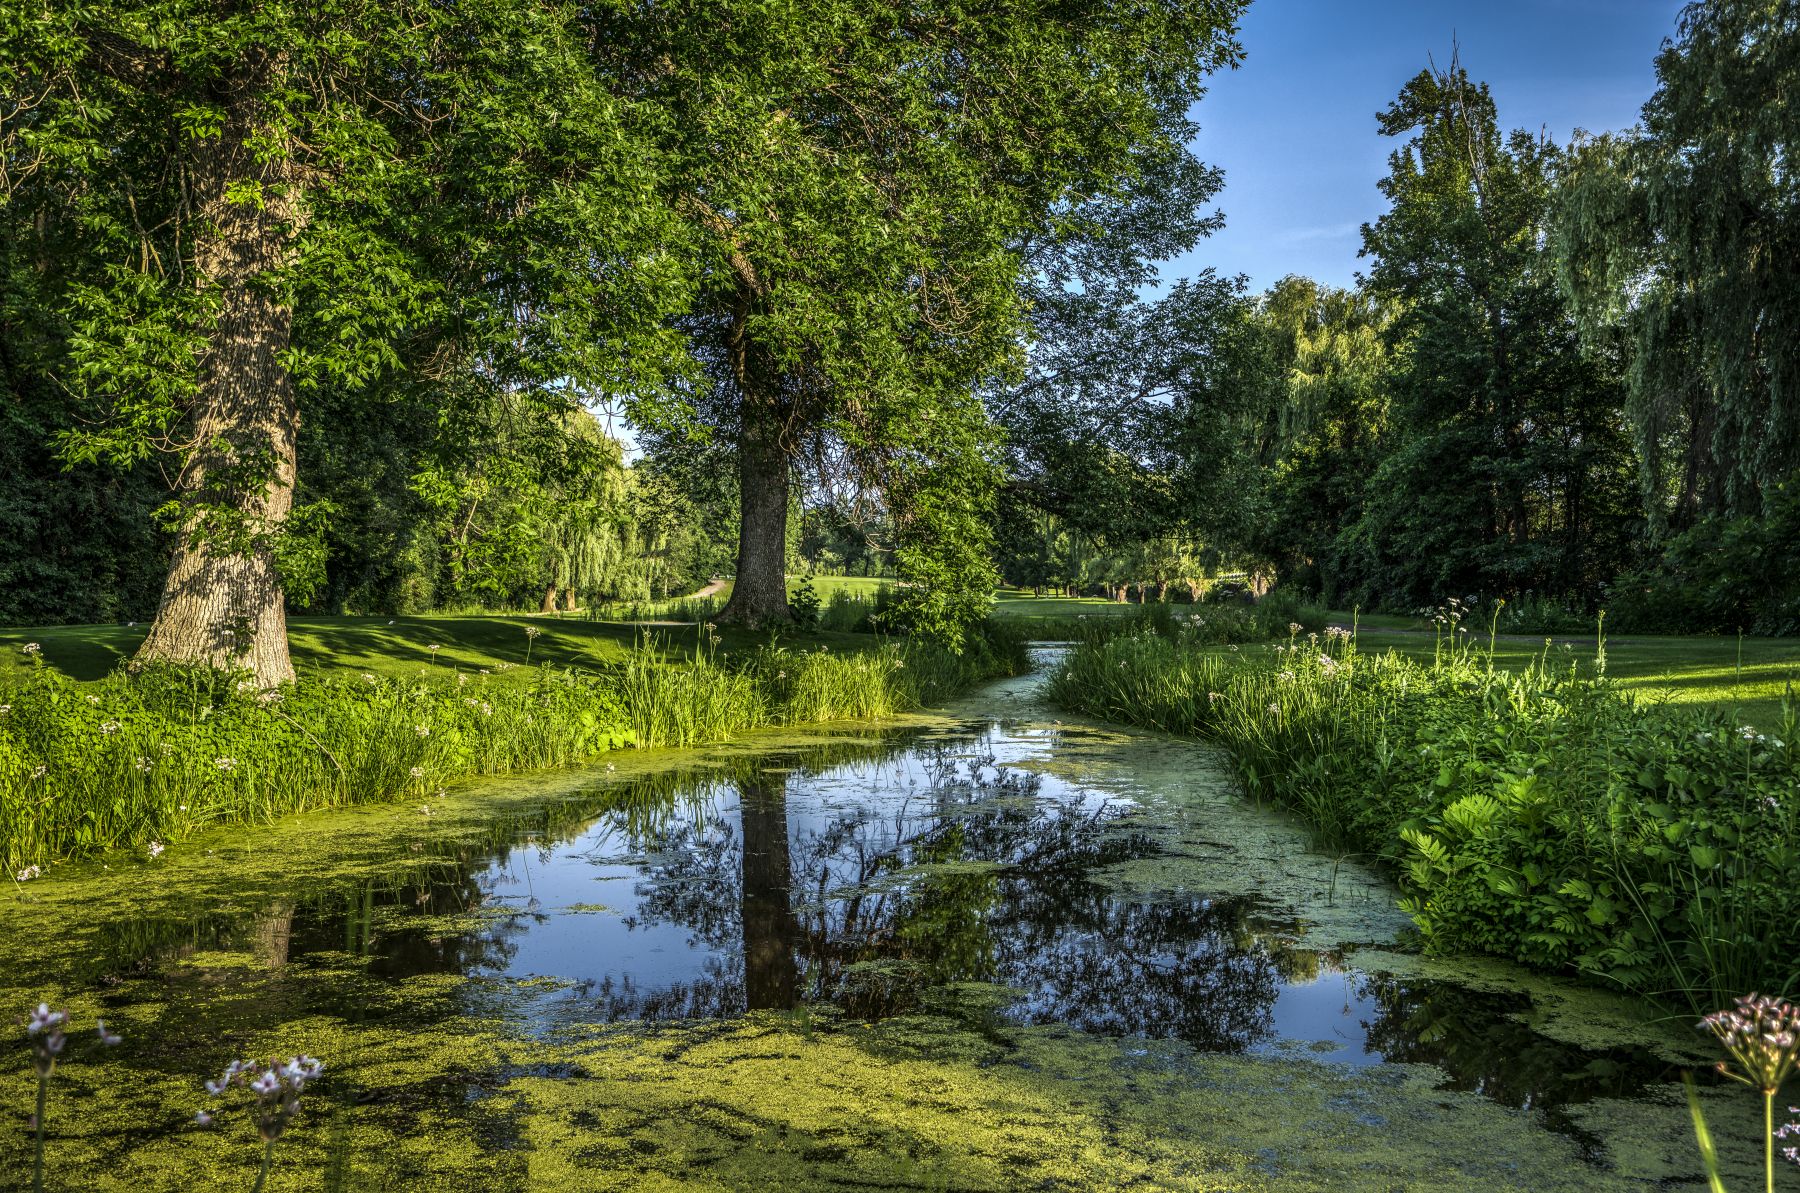
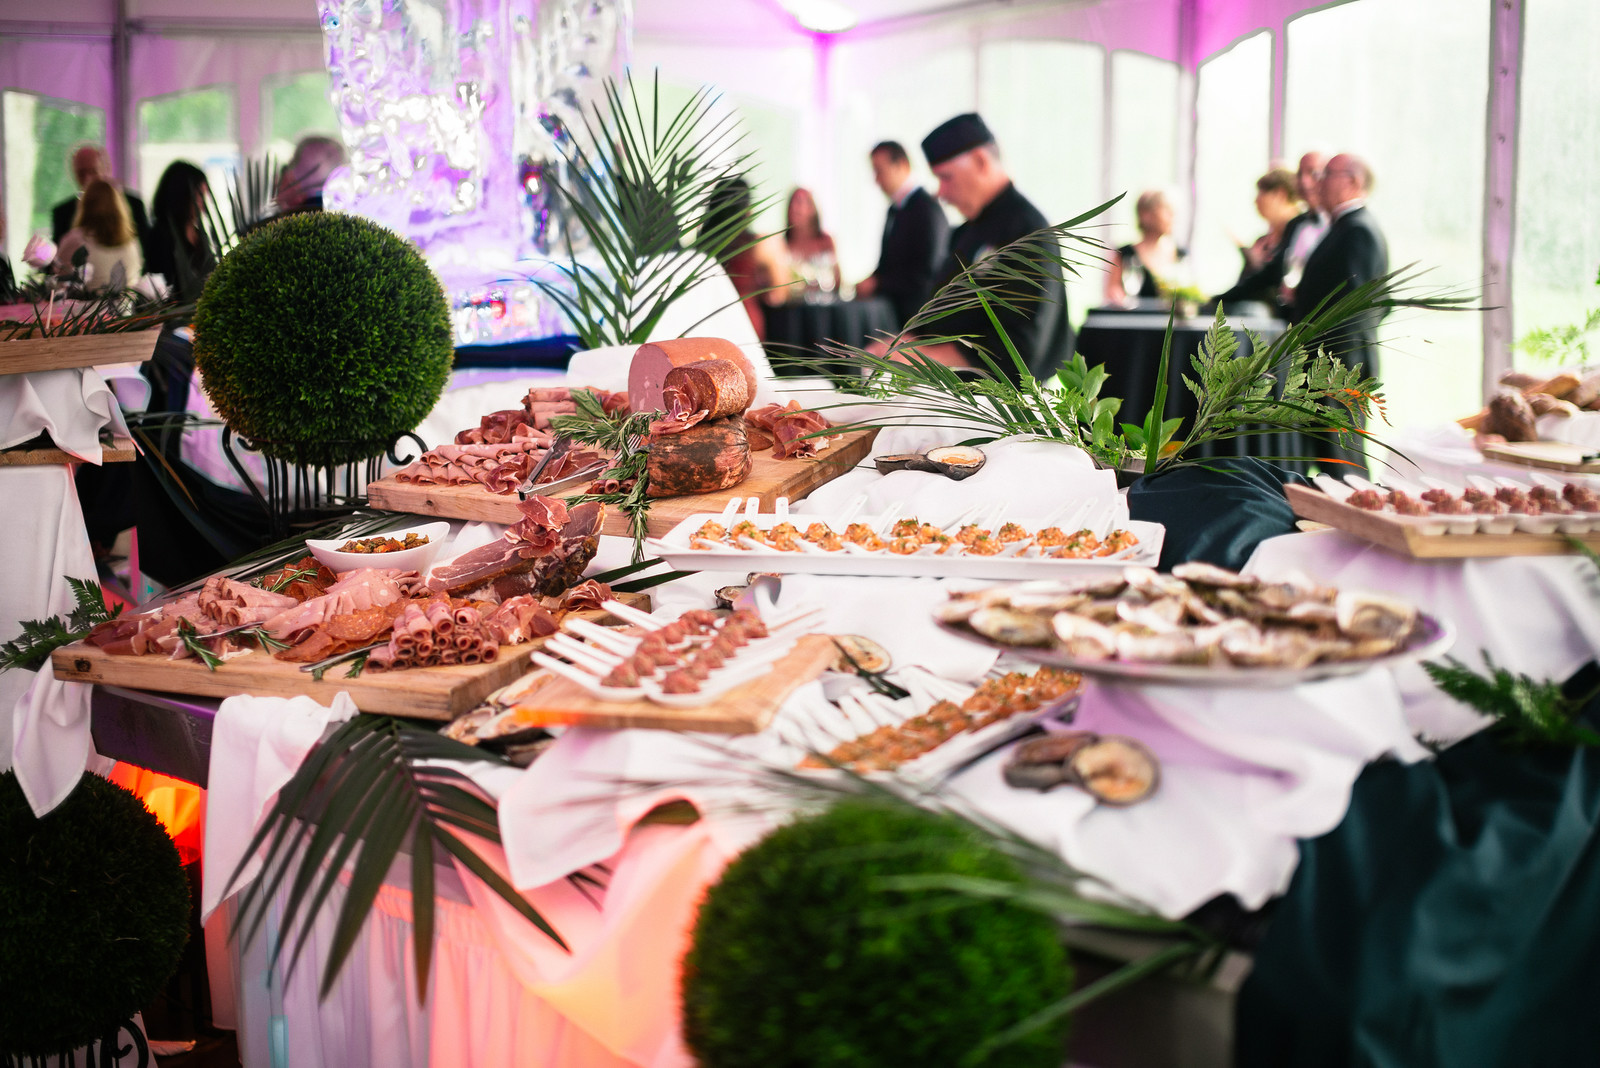
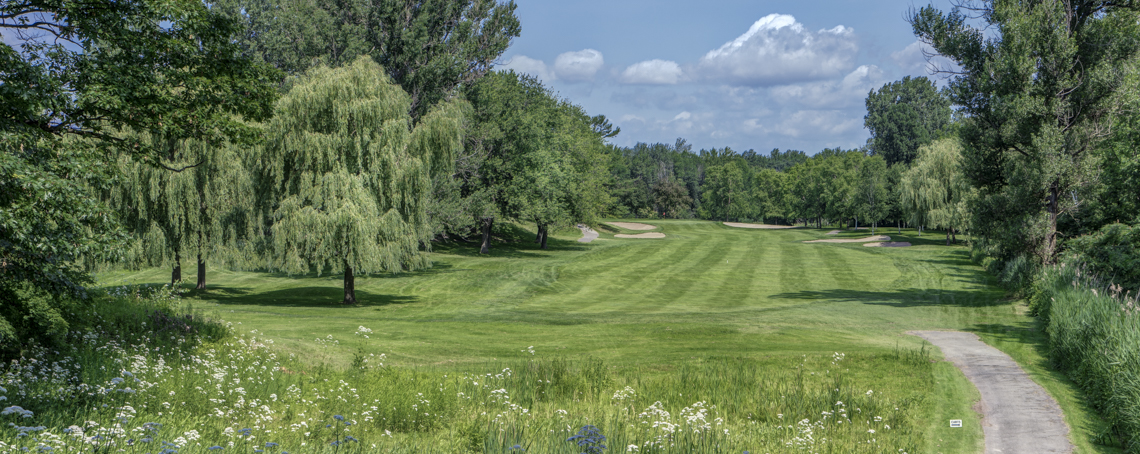
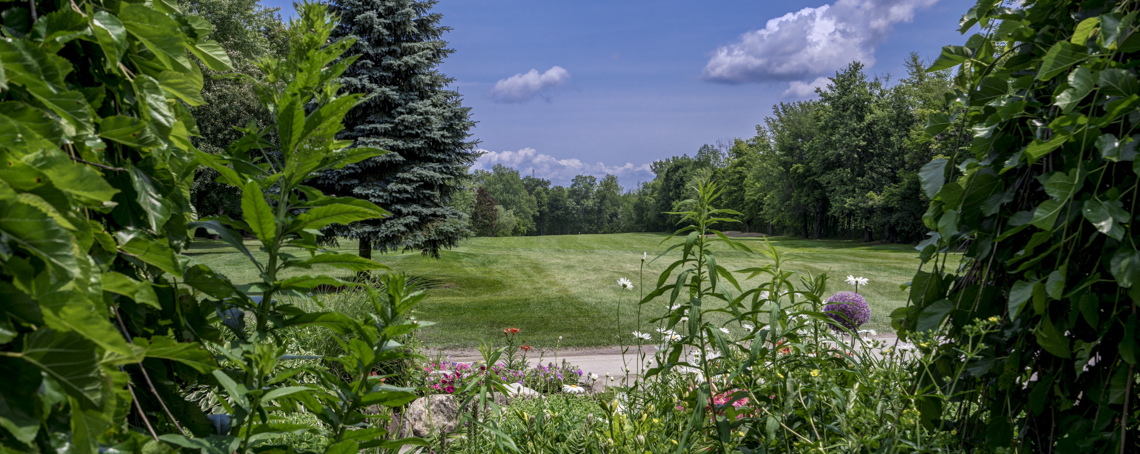
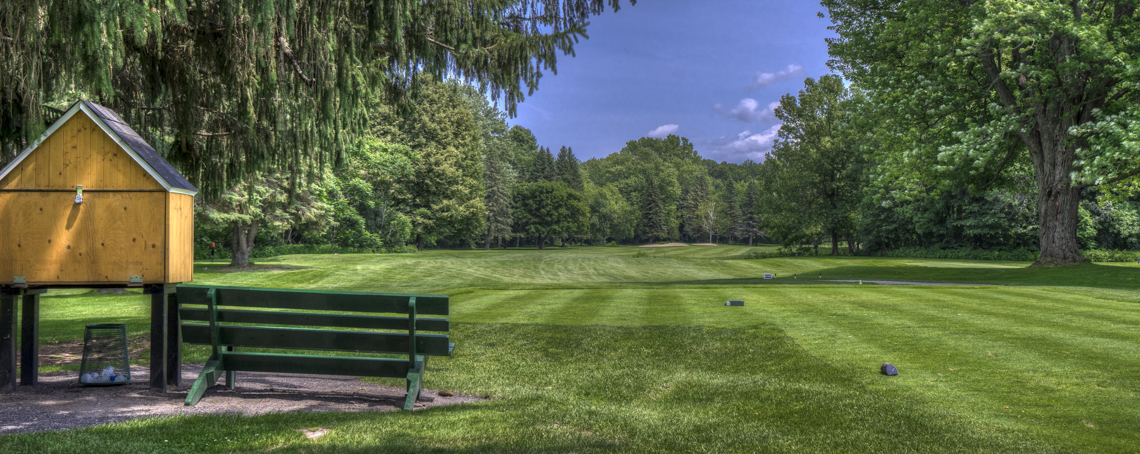
Sweet tranquility - at Kanawaki, you'll find yourself in a relaxing, tranquil environment where time stands still.

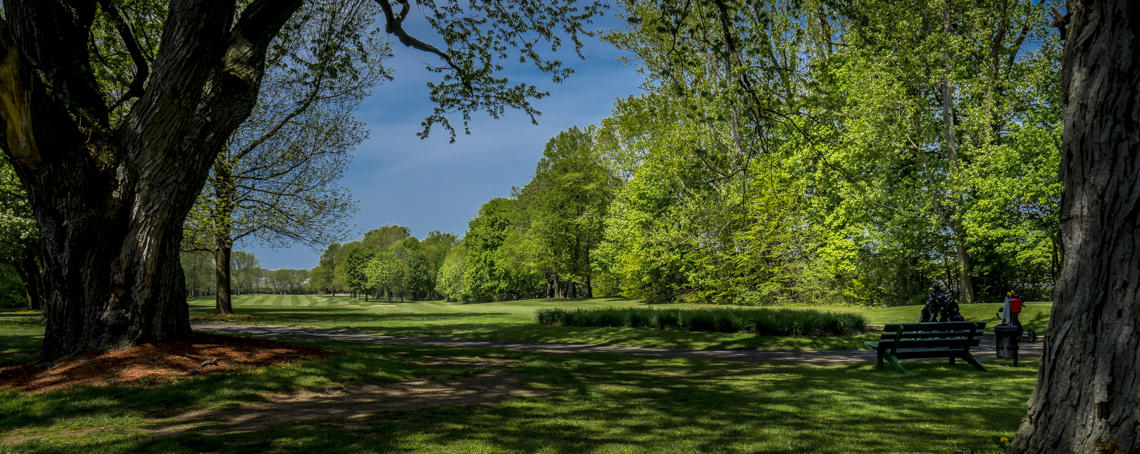
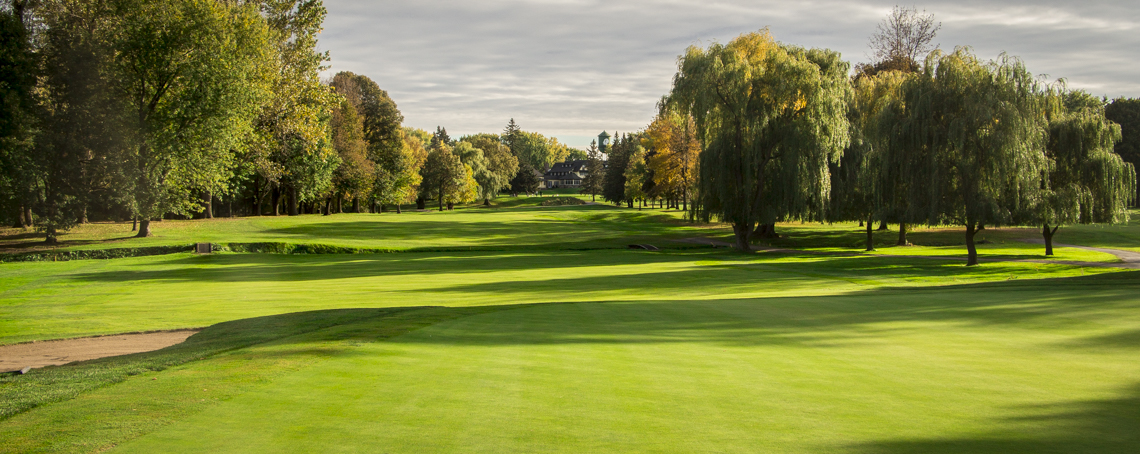
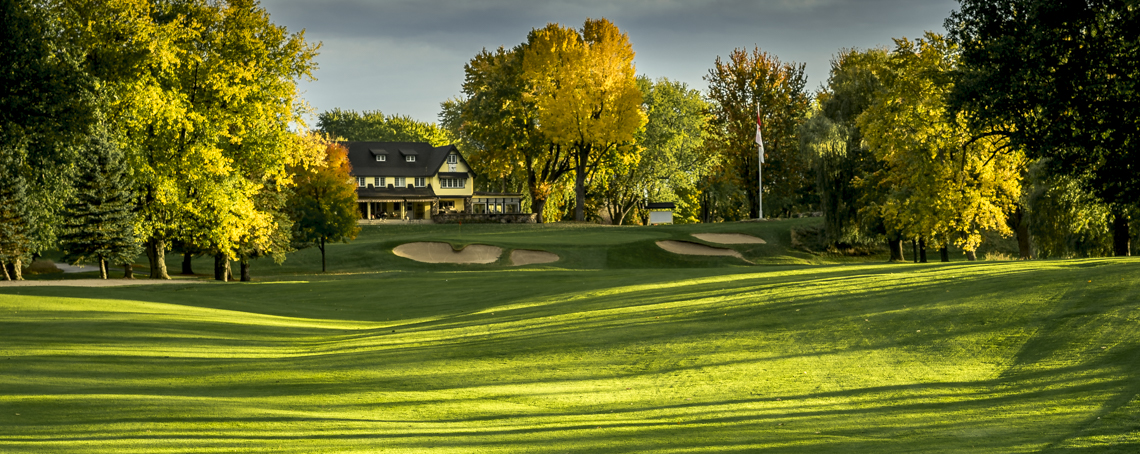
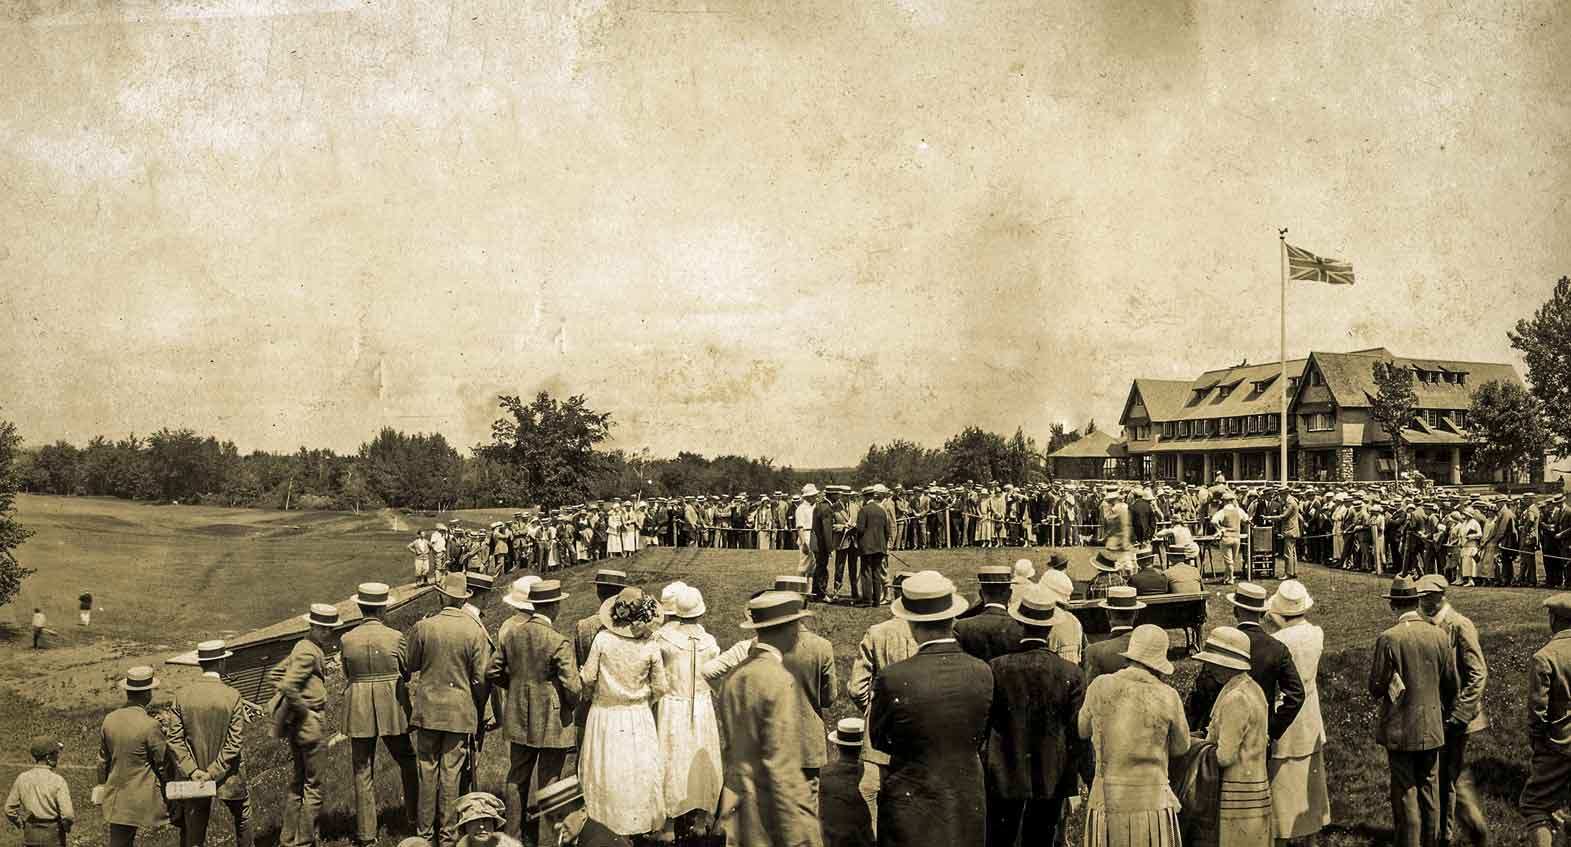
A rich history
A century of tradition and memorable experiences
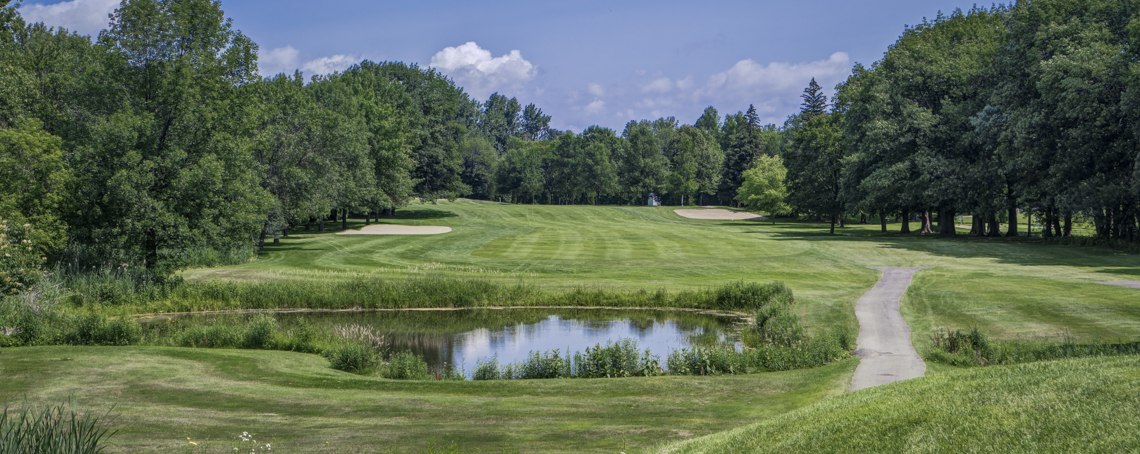
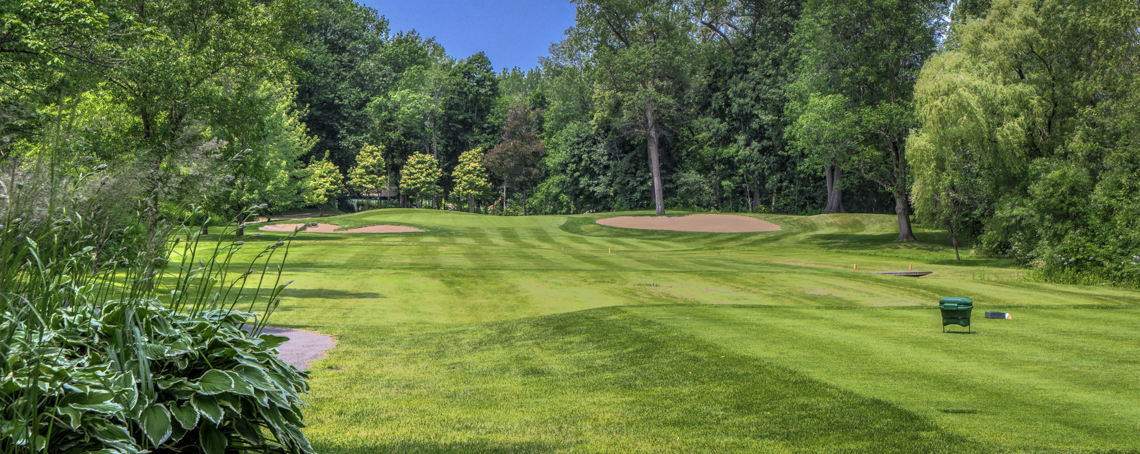
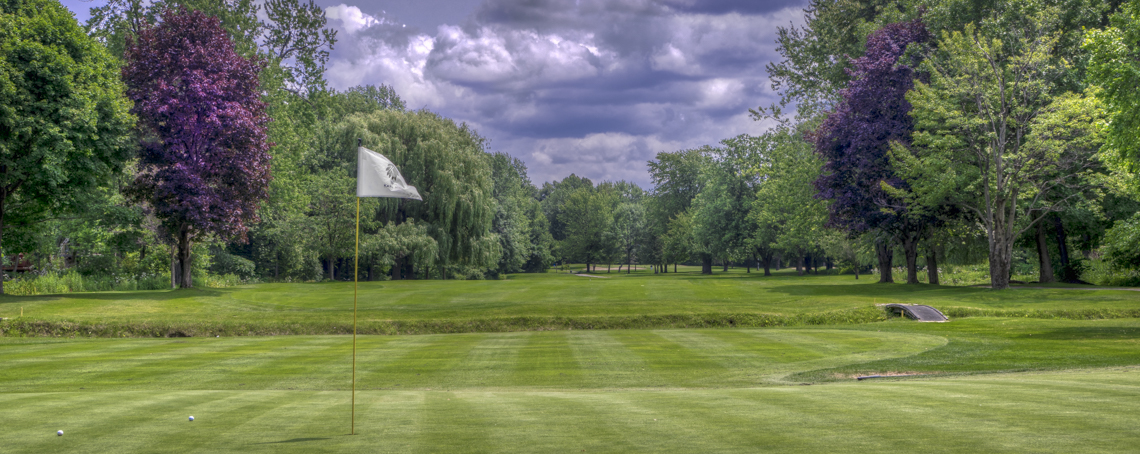
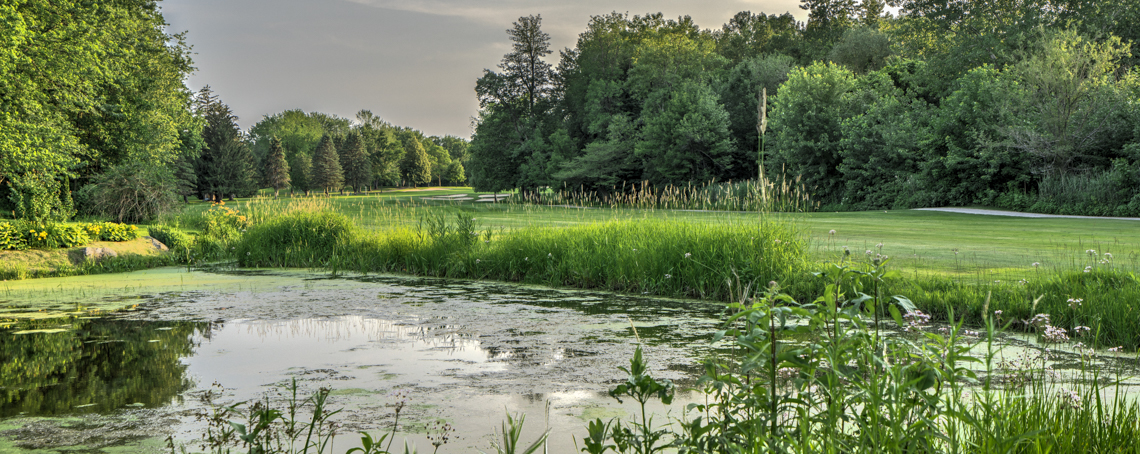
A unique, sought-after beauty
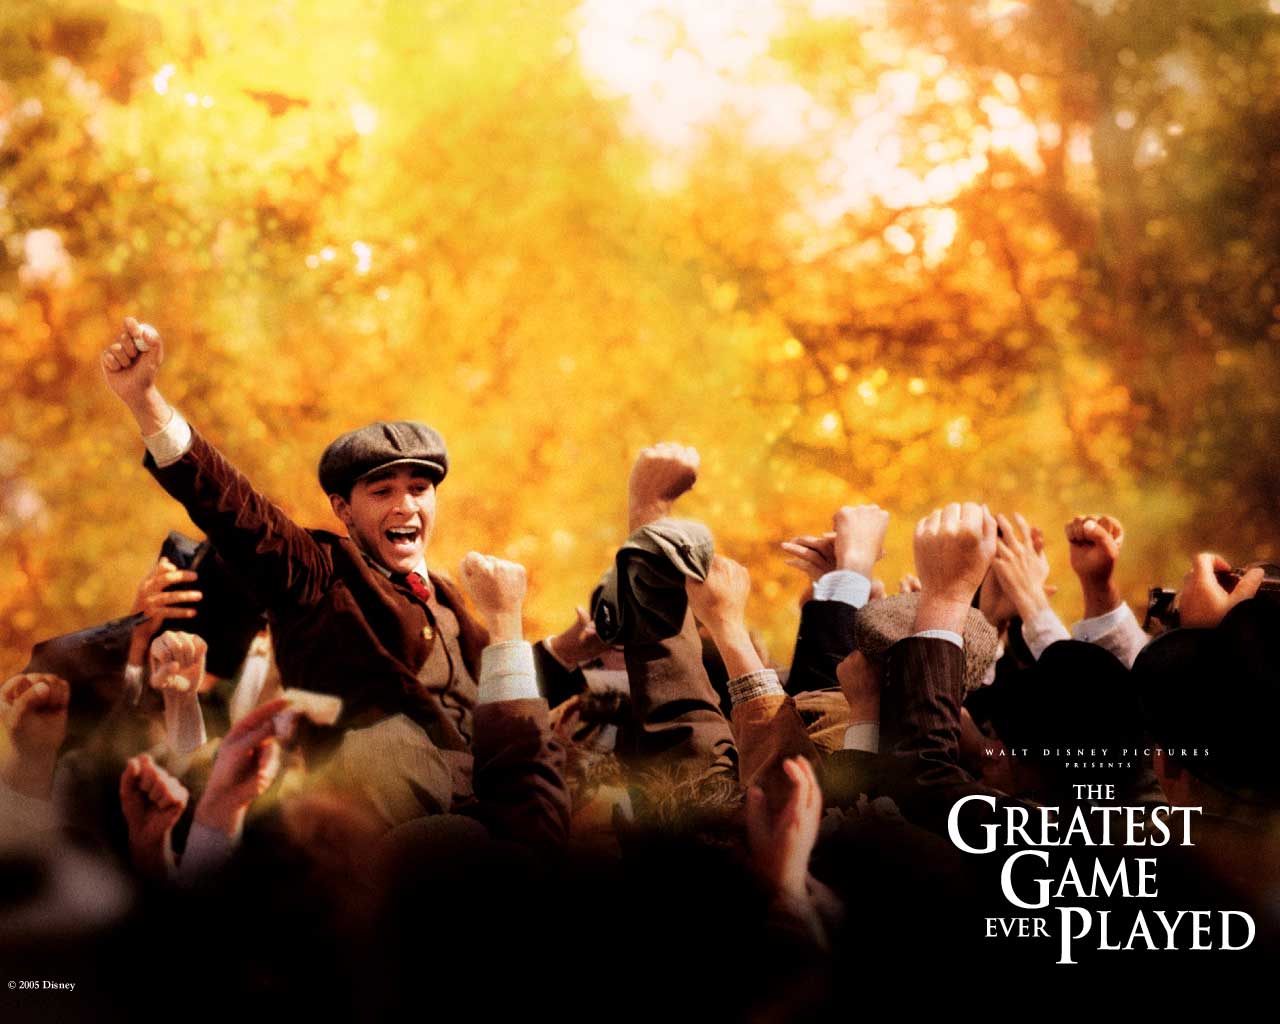
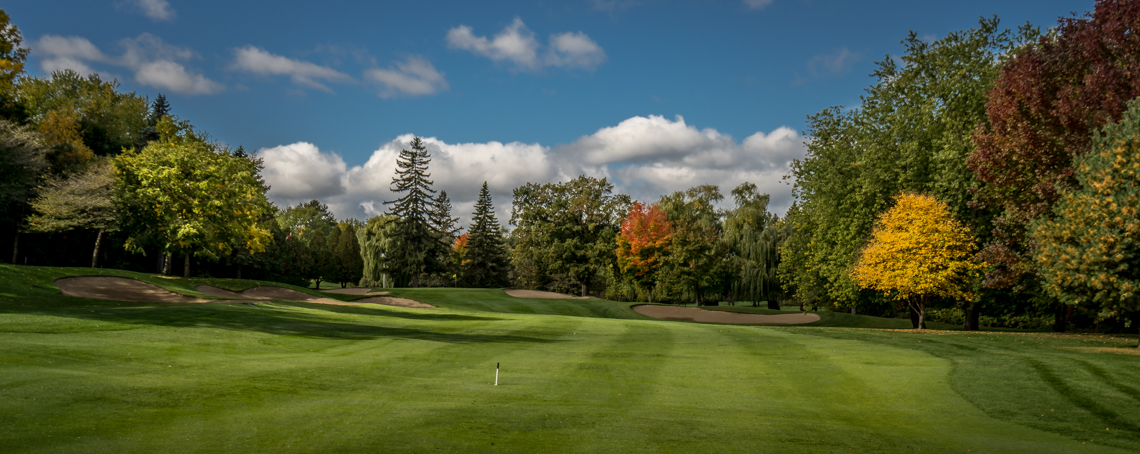
Kanawaki's distinct beauty has been featured on television and the big screen,
including Disney's The Greatest Game Ever Played